Showing posts with label daily 5. Show all posts

Sunday, October 26, 2014

Blogging in the Primary Classroom

For the last 5 years I have introduced my first graders to blogging in the classroom.  Most people are surprised to hear that first graders actually have blogs and use them.  It's true!  My first grade students actually have their own individual student blogs via Kidblog.  The website is www.kidblog.org and teachers can create free accounts for their classrooms.

Blogging gives my students the opportunity to connect with other students in authentic ways.  This year we are, once again, participating in a Primary Blogging Community with a group of teachers that I met on Twitter.  Our blogging community includes four classrooms from different parts of the country and around the world.  Two of the classrooms are in Canada.  The third classroom is in Seattle and my classroom is the Michigan connection.  During the first week of the event we visit the classroom blogs of our Primary Blogging Community friends.  This gives teachers the chance to model how to navigate a blog and how to leave comments.  During the next four weeks we focus on our students' blogs by visiting a different hosting classroom each week.

My classroom was the "focus classroom" for the first week of the event.  We received over 100 comments from the other classrooms.  It was quite exciting and very motivating for my students.  You can probably imagine some of the comments... "Look everyone, Libby has 20 comments on her blog!"


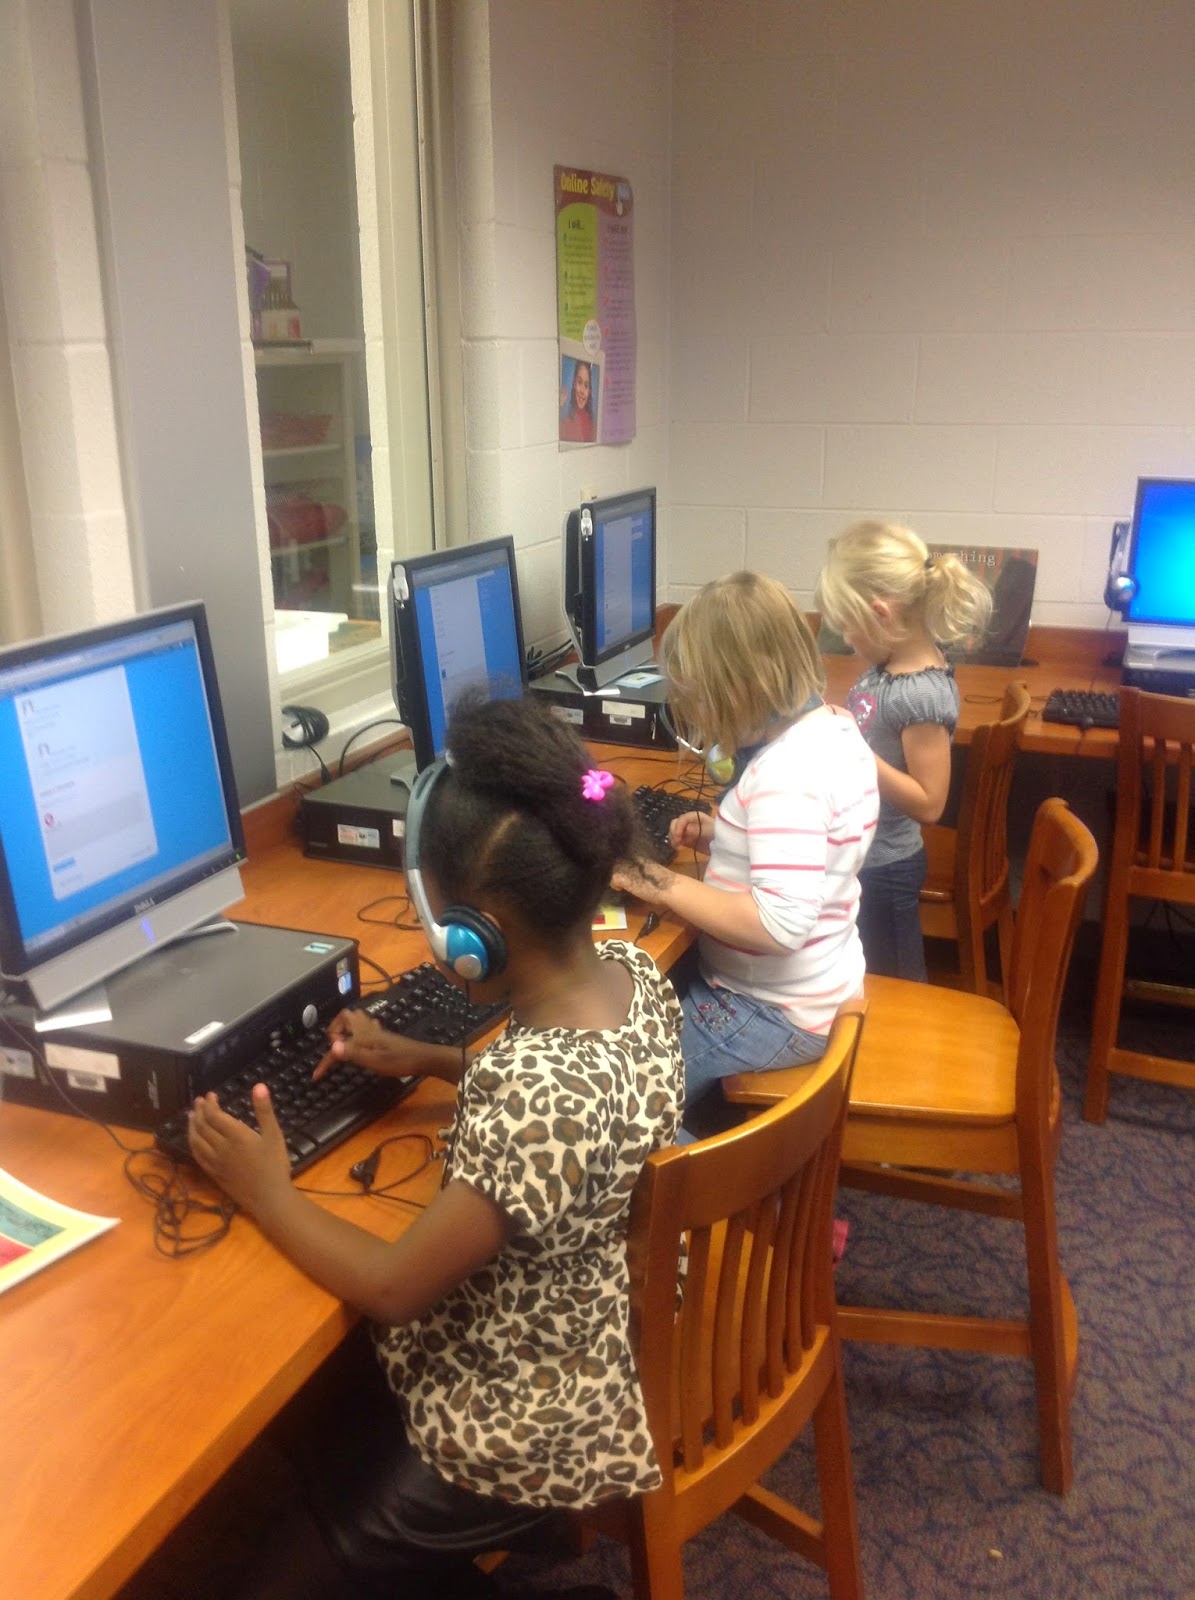
Last week, we started leaving comments on the students' blogs in the other classrooms.  This was easily accomplished by signing up for a few extra days in our school's computer lab.  I add the classroom(s) that we want to visit to the Blogroll on the home page of our Kidblog site.  It makes it much easier for my students to navigate.   If it sounds like a daunting task…don't panic.  It's not.  My first graders always amaze me at what they can do, when given the opportunity.  The are fearless!  They are willing to take risks in order to learn new things and that, in itself, fills my heart with joy.


One of the things that I always suggest to my students is that they include a question with each comment they make.  This sparks the conversation between students and classrooms.  Whenever,  I see comments on their posts I tease them a bit by saying, "It looks like you have a bit of homework."  This is the kind of homework your students will love.

Tips for Blogging with Students:

  • Use the computers in your classroom by creating a blogging schedule.
  • Allow students to blog during Daily 5 or other centers.
  • Start by creating simple posts like this, "Things I Like…"
  • Create easy passwords they can spell and remember.
  • Teach about blogging safety and digital citizenship.
  • Create a blogging community at your school or grade level.
  • If you have access to iPads, Kidblog also has an app.  I use it on my personal iPad which makes monitoring the site quick and easy to do.


I'm going to use my own advice.  So here's my question for you.  What tips do you have for blogging with students?  Please share them by leaving a comment below.

Friday, June 15, 2012

CAFE STRATEGY BOARD

Today was the last day of school.  My students attended school for only half of the day, however, teachers were  required to work a full day.  After my students gathered their things and said their goodbyes, I scanned the classroom, noticing all of the things that needed to be done.  This year, I decided to take a few pictures of some of the key structures in my classroom.  In the fall, when school resumes, I can refer back to my pictures when I'm ready to recreate or modify them.  One of the most important areas is my CAFE board.  It's important to have a place or anchor in the classroom where you can post the reading strategies that you teach/model with your students.

I've seen different arrangements for setting up a CAFE board.  The CAFE goals are usually at the top of the board/space.  Below each goal, there is room for placing the students' names under the goal that they are working on.  The individual strategies are then placed below that.  Since I teach first grade, I usually leave room at the bottom of the board for names (instead of at the top) because my students would have a hard time looking up at the top of the board to find their names.  Now, I have an even better solution to the name placement.  I take pictures of my students at the beginning of the school year, cut them out, and place their picture next to the strategy they are working on.  This works perfectly and my students respond much more enthusiastically to seeing their picture next to the strategy rather than just seeing their name.

My CAFE board is a major focal point in my classroom and contributes to a successful launching and implementation of the Daily 5/CAFE in my classroom.  It's not a board, like so many others, that goes unnoticed once it's introduced.  It's a board that is a continual work in progress in my classroom.  I refer to the CAFE board daily and sometimes several times in the day.  My students refer to the CAFE board, they use it as a reference, and as a tool.  When I introduce a new strategy, it's placed on the CAFE board.  When I refer to a previously introduced strategy, I point/touch the CAFE board.  When students are working on a new goal, they move their picture to the appropriate place on the CAFE board.  The majority of our literacy discussions take place under the backdrop of our CAFE board.

Take a look at my CAFE board below.  You won't see pictures of students because they were taken off the board and given to them as a year-end memento.  However, the remainder of the board is just as we left it.    Do you use a CAFE board for your Daily 5/CAFE instruction?  Is there anything unique or different about your board?  Please share what's different or unique with us in the comments section.  Perhaps you have a setup that works better for older students.  I would love to hear from you.

Monday, December 26, 2011

Digging In with Word Work

WORD WORK
Word Work is one of my students' favorite components of the Daily 5.  Word Work allows students the opportunity to practice their wall words and/or spelling words.  Word Work is a very important literacy component, and your students will take it seriously if you provide clear expectations.  When launching Word Work, it's important to create an anchor chart with your students.  The anchor chart details the expectations for demonstrating independence during Word Work.  There are several different choices that students can select from during Word Work.  The options that my students choose from are as follows:
Visit my classroom blog for a list of the websites my students frequently use for Word Work. http://vruckes.edublogs.org/

MODELING
Modeling is another key factor for a successful launch of Word Work.  It's important for students to see the correct way and the incorrect way to participate in Word Work.  It's also important to model how to put away materials at the end of the Daily 5 round.  In The Daily 5, the authors stress that the incorrect model is shown first, and it's followed by the correct model.  I think it's crucial to leave students with the correct model in their minds.

TOOLS
It's important to reinforce that the materials used for Word Work are tools and not toys.  I can't begin to tell you how many times I've repeated the refrain, "Markers are tools and not toys."  However, it sticks with them, and they really learn to use the materials correctly.  My students use individual white boards for Word Work probably more that any of the other materials.  Some teachers use old sock as erasers.  I buy felt squares which I cut in half.  They make perfect erasers.  Besides, I can't stand the thought of having old socks lying around my classroom.  I'm just a bit picky that way.  The felt squares are durable and washable, and best of all, cheap.  I haven't had to replace these for several years now.  They can be purchased at most craft and fabric stores, and they come in many different colors.

Rainbow Paper is another engaging alternative.  My students rewrite their Wall Words in rainbow colors.  Each letter of the word is a different color.  When students are using the rainbow paper for Word Work, they are not only working with words, they are also practicing their handwriting.

Once Word Work has been introduced, it's important to maintain consistency.  Keep the materials the same and don't worry that your students are getting board with them.  You want to keep them  focused on their word work and not on new items which may become distracting.

What are the go-to tools and websites used for Word Work in your classroom? 

Friday, November 25, 2011

Digging In With Read To Self

Of the five components of the Daily 5, I would have to say that Read to Self is my favorite.  Why?  I'm glad you asked.  It's because my students are more focused and productive during Read to Self, than any other time in my classroom and during any other component of Daily 5.

When I launch the Daily 5, I always start with Read to Self.  Reading to self is also known as independent reading.  It's important that my students are building stamina, and able to read independently for at least 20 minutes before I introduce the other "Daily's" (the other parts of the Daily 5).  In my first few mini lessons for Read to Self, we address the importance of selecting good fit books, choosing a good reading spot, and building stamina. We also create the Read to Self anchor chart which is covered in the book.  First, we discuss why reading to self is important, and that information is written on the top of the anchor chart.  Next, we discuss what the students will do, and I record their responses on the chart.  Finally, we discuss what the teacher will be doing, and I record those responses too.  Modeling appropriate reading behavior is also very important, and it's my students' favorite thing to do.  Two or three students are selected to model the incorrect way to read during Read to Self, followed by the correct way to read during Read to Self time.  The book suggests selecting a student who would typically have trouble staying focused or engaged.  The modeling gives them the opportunity to get silly and play around in front of an audience.  However, they are also required to model the correct way for the class.

During Read to Self I gather my students on the rug in the meeting area.  I start with a short focus lesson which lasts about 6-10 minutes.  Your focus lesson should be about 1 minute per the age of your students. Since I teach first grade, my focus lesson should generally be about 6 minutes long.  When I'm looking for a text, I always look for quick reads so that my focus lesson stays within the 6-10 minute time frame.  After the focus lesson I send row one off to find a reading spot quickly and quietly (Q and Q).  Then rows two through four are sent off in the same manner.  Since we are gradually building stamina, we start with reading independently for 3 minutes, and increase the time by one minute each day.  The most important aspect of the stamina building, is to stop Read to Self when things begin to fall apart.  Even if only one student is not reading or is off track in some way, the entire class is signaled over to the meeting area, and the reading is stopped.  This prevents the reinforcement of negative reading behaviors.  I ring chimes to signal my students over to the meeting area.  Some teachers signal with bells, music, drums, or simply call them over with a verbal signal or chant. 

Having students self-evaluate and reflect is very important during the share time.  We share and reflect on what went well and what we can improve on next time.  This year my students and I graphed our reading stamina each day.  After each 10 minute increment was reached we had a classroom reading celebration.  From time to time you may find that you have to refer to the anchor charts when things are not running smoothly.  I have found that it is helpful to share the anchor charts after holidays or other extended breaks as a reminder of what the expectations are in our classroom.  In this way the anchor charts seves as a community building piece as well.


During our Read to Self time my goal is to conference with 2-3 students, and meet with 1 or 2 strategy groups each day.  Once I have my entire Daily 5 up and running, I continue to keep my first round a whole class Read to Self round.  This is a little different from what most teachers do but it works for my students and my classroom.  When all of the Daily 5 is up and running, the rounds tend to get a bit noisy.  Having one round of Read to Self ensures that I have at least that round each day, when things are a little quieter and much more manageable.

This year I incorporated Flashlight Friday (see my parent letter below) to my Read to Self time.  I asked my parents to send in a small flashlight with their child, and I informed them that flashlights could be purchased at the Dollar Store.  Of course flashlights of all sizes were sent in.  I also purchased extra flashlights and batteries to keep on hand as needed.  Currently, we do Flashlight Friday during the last 10 minutes of the day on Fridays.  My Daily 5 rounds remain the same, but the students are getting a little extra reading time, and they love it.  During Flashlight Friday, we turn off the lights and the students read by flashlight.  It's another way to encourage reading.  I love when I say, "It's time for Flashlight Friday" and my students respond with, "Yes!"  
Flashlight Friday Letter


Read to Self looks a little different in my classroom.  However, the most important thing about digging in with the Daily 5 is to "Make It Your Own".

Monday, August 22, 2011

DIGGING IN WITH THE DAILY 5

The Daily 5 is a book (resource) written by Gail Boushey and Joan Moser, also know as "the sisters", which focuses on literacy instruction and independence.   It is currently being used in many classrooms across the country.
There are 5 literacy components:  Read to Self, Read to Someone, Listen to Reading, Word Work, and Work on Writing.

GETTING STARTED
The most important discovery that I've made after getting started with the Daily 5 was this: Make It Your Own. The Daily 5 is a structure and management piece for a lot of the things you are already doing in your classroom.  As with most things, there is more than one way to do the Daily 5. You have to make it work for You and Your classroom. 

Digging In
When digging in with the Daily 5, you'll want to focus on your classroom library.  My books are arranged in baskets, which I keep on top of counters, and others are displayed on shelves.  My classroom library is a combination of books organized by reading level (GRL), genre, theme, topics, and units of study.  In fact, how books are arranged is not that important.  What's more important is that your students know how to pick "Good Fit Books".  One of the first focus lessons that you will teach is the "I Pick" lesson, where you teach students how to pick books that are a good fit for them.

Meeting Area
Another important component of the Daily 5 is creating a meeting area within the classroom.  The meeting area is a place where students come together as a group for mini-lessons or focus lessons, book discussions, checking in, and sharing/reflecting on learning.  Many teachers anchor the meeting area with a large rug.  The rug helps to identify the meeting area for your students.

Signal
Finding a way to get the attention of your students and bringing them back to the meeting area, is the purpose of the signal.  There are many creative signals that you can use.  I use chimes in my classroom.  I love the calm sound of the chimes.  For me, it's a calm and quite way to signal my students that we need to stop what we were doing, and go to the meeting area.  Music, drums, spoken signals, etc. are other great ways to reconvene your students.

Conferring
One of the best aspects of the Daily 5 is that it builds independence.  As the students are working independently on their daily 5 choice, the teacher is able to work with students.  This structure allows the teacher time for conferring one-on-one with students, while the rest of the class is busy working on their Daily 5 choice.  Choice is key.  Having the ability to choose what to work on, engages students and promotes the independent work habits that are so important to a successful Daily 5 round. Take a look at my conferring bag below.


If you would like additional information on the Daily 5, like my conferring bag, refer to my post on Ten Tried and True Tips For Using the Daily 5.

In my next few posts I'll focus on the 5 different components of the Daily 5, so stay tuned and Dig In.  You'll be glad you did. 

Saturday, July 23, 2011

WRITING WITH TOOLS NOT TEARS

Some students love to write, some tolerate it, and others just hate it.  You know the scenario....the student sits and stares at a blank piece of paper for what seems like forever.  How do we get our most relunctant writers writing?  Even better, how do we get them excited about writing.  Every teacher has at one time or another had one or two students who didn't enjoy writing.  Okay, I'll say it, some students hate writing.  However, it really isn't that they hate it, they just don't feel they're good at it.  It makes perfect sense.  I mean, what person would enjoy something that they're not very good at.  Think about it.  Bad cooks don't enjoy cooking.  Nobody enjoys eating their cooking. Terrible singers don't enjoy singing.  Wait a minute.  I'm a bad singer, and I LOVE singing.  It's my family that doesn't like hearing it.  Well, that was a bad example, but you get the point.  If students were better writers they would enjoy writing.  Furthermore, in order for students to become better writers, they need to write more often.  It's a vicious cycle. 

Until last year I taught third grade.  By the time kids reach third grade, teachers usually have two or three relunctant writers in their classrooms.  Currently, I'm teaching first grade.  First grade writers are a totally different entity.  Most students are emergent readers and writers entering first grade.  Therefore, they're just learning how to read and write.  I don't know about you, but I certainly don't want to be the one responsible for their displeasure for writing.  How can we get primary students off to a good start with writing?  What tools, strategies and best practices, can we utilize to engage students in the writing opportunities that exist in the classroom?  How can use technology to support them in their writing?  Here is another way:

I came across a website called ReadWriteThink.  They have something called a Comic Generator.  Students can create their own comics on the computer or interactive whiteboard.  The Comic Generator allows students to choose from different layouts, characters, and settings.  The best part of all, the student has to WRITE the captions and dialogue.  After the comic is completed it can be printed or edited.  If you have an interactive whiteboard, your students could present their comics to their classmates.  I created a comic of my own as an example.  Take a look and see if you can get the gist of my comic.


Did you get it?  I'm dreaming about the first day of school and hoping I remember everything.  I'm upset because I have to go to school, even though I look and feel terrible.  Finally, I discover that it's Saturday.  Okay, so it's not very good, but I bet my first graders will do a lot better.  More importantly, they'll have so much fun creating, that they'll forget they're WRITING!
The website for the Comic Generater is http://www.readwritethink.com/

Thursday, July 21, 2011

TEN TRIED AND TRUE TIPS FOR THE DAILY 5

1.  Laminate Anchor Charts~Create anchor charts with the students.  Record their ideas.  Afterwards, neatly rewrite charts and fancy them up as desired.  Laminate the final chart and hang in the classroom.  Next year, create anchor charts with your new students, but instead of rewriting the chart for display puposes, pull out the laminated chart from the previous year (it will have similar information) and hang it.


2.  Check for Understanding Strategy~The Sisters suggest using checkmarks cut from wood, with the strategy written on them.  Instead, use precut rectangular pieces of foam.  Use a permanent marker to record "Check for Understanding" on one side and "Who?" and "What?" on the reverse side.  These foam pieces can be purchased from craft stores.  They are extremely durable and inexpensive.


3.  Listen to Reading~Use classroom computers as a Listen to Reading station.  There are many great websites where students can listen to stories on-line.  Some of my favorites are http://www.starfall.com/ and http://www.storylineonline.net/.

4.  Creat a Reading Bag~A bag or tote with pockets works best.  The tote would include the following items: 
  • Dry Erase Board
  • Dry Erase Markers
  • Pensieve
  • Leveled Books
  • Sticky Notes
  • Pencils
  • Word Cards/Letter Cards


5.  Repertoire of Mentor Texts~Locate a number of menor texts in advance.  Use these during your minilessons or focus lessons.  Short texts are best because you can finsih the entire text within the time frame of your focus lesson and the students are able to focus on the strategy being taught.

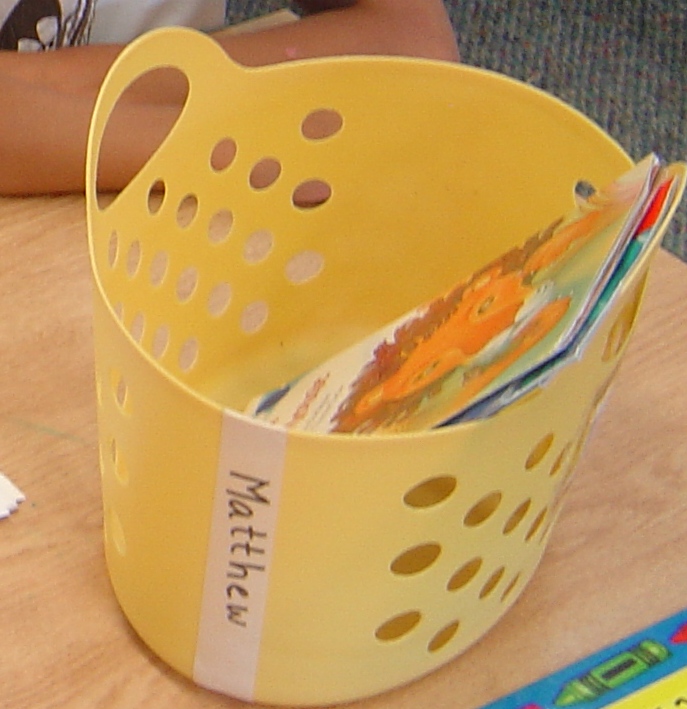
6.  Book Baskets~Be creative when looking for appropriate book boxes or book baskets.  Many teachers use book boxes which can be a little costly.  A good substitue is a book basket.  Baskets can be purchased at the Dollar Store and they come in a variety of colors.


7.  Strategy Board~Instead of writing the student's name on a sticky note and placing the note next to the strategy the student is working on, use a photo of the student instead.  At the beginning of the school year take head shots of each child.  Place the child's picture on the strategy board next to the strategy he/she is working on.


8.  Keep Track of Read-Alouds~Keep a record of all books that are read aloud to your students.  Keep this list posted somewhere in the classroom.  Update the list daily/weekly (this could be a classroom job.)  Record the book title, author, and genre.  Poster board works well, but I prefer a scroll.  Make one by stapling papers together and rolling up and unrolling as you add books to your list.  At the end of the school year you can revisit some of the favorites from the list.

9.  Utilize Technology~If you have a Smart Board, you can use some of the smart tools to create an electronic version of the Daily 5 check-in.  Students move their icons/pictures/symbols to indicate their Daily 5 choice.

10.  Be Resourceful~There are a lot of great resources available that will complement what you're doing with the Daily 5.  Two of my favorite teacher resources are Growing Readers-Units of Study in the Primary Classroom by Kathy Collins, and Words Their Way-Word Study for Phonics, Vocabulary, and Spelling Instruction (Pearson-Merrrill/Prentice Hall).  Read what others have to say on the subject and make it your own.